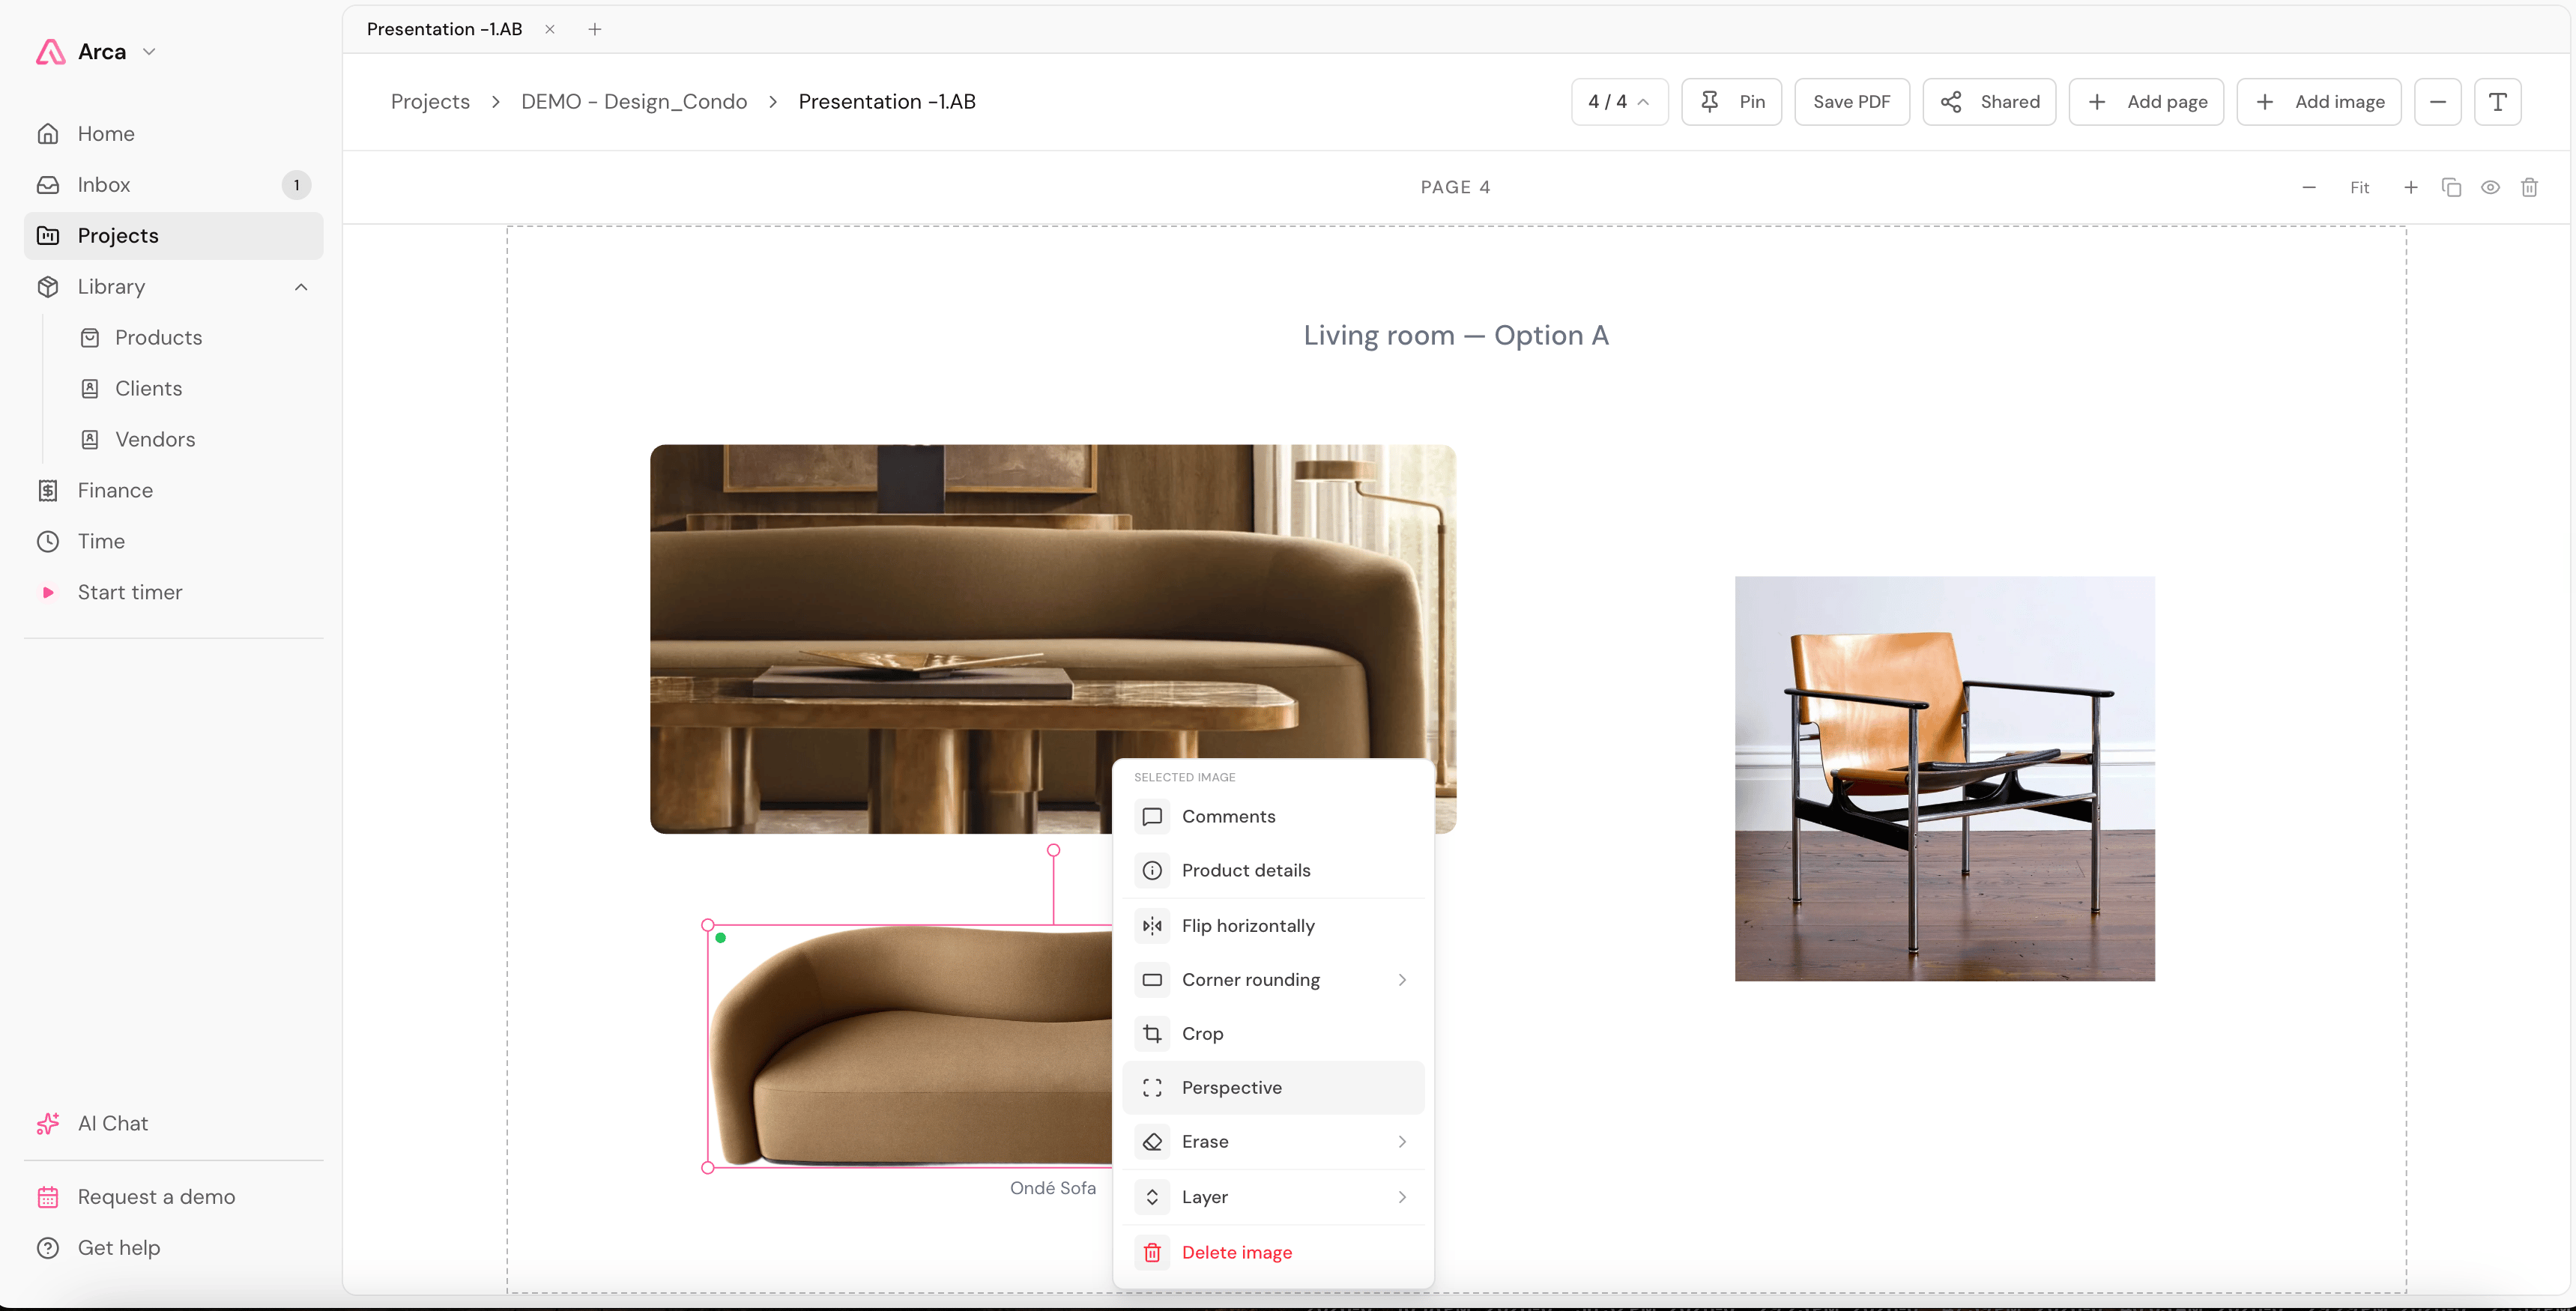
Perspective Perspective — see all editor icons. Use Perspective to change the apparent angle of an image. For example, narrow the far edge of a rug so it appears to lie on the floor beneath a chair. This changes the image on the pinboard, not the product’s dimensions or specification.

Shape an image

  1. Select one image on the board.
  2. Choose Perspective in its floating toolbar, or right-click the image and choose Perspective.
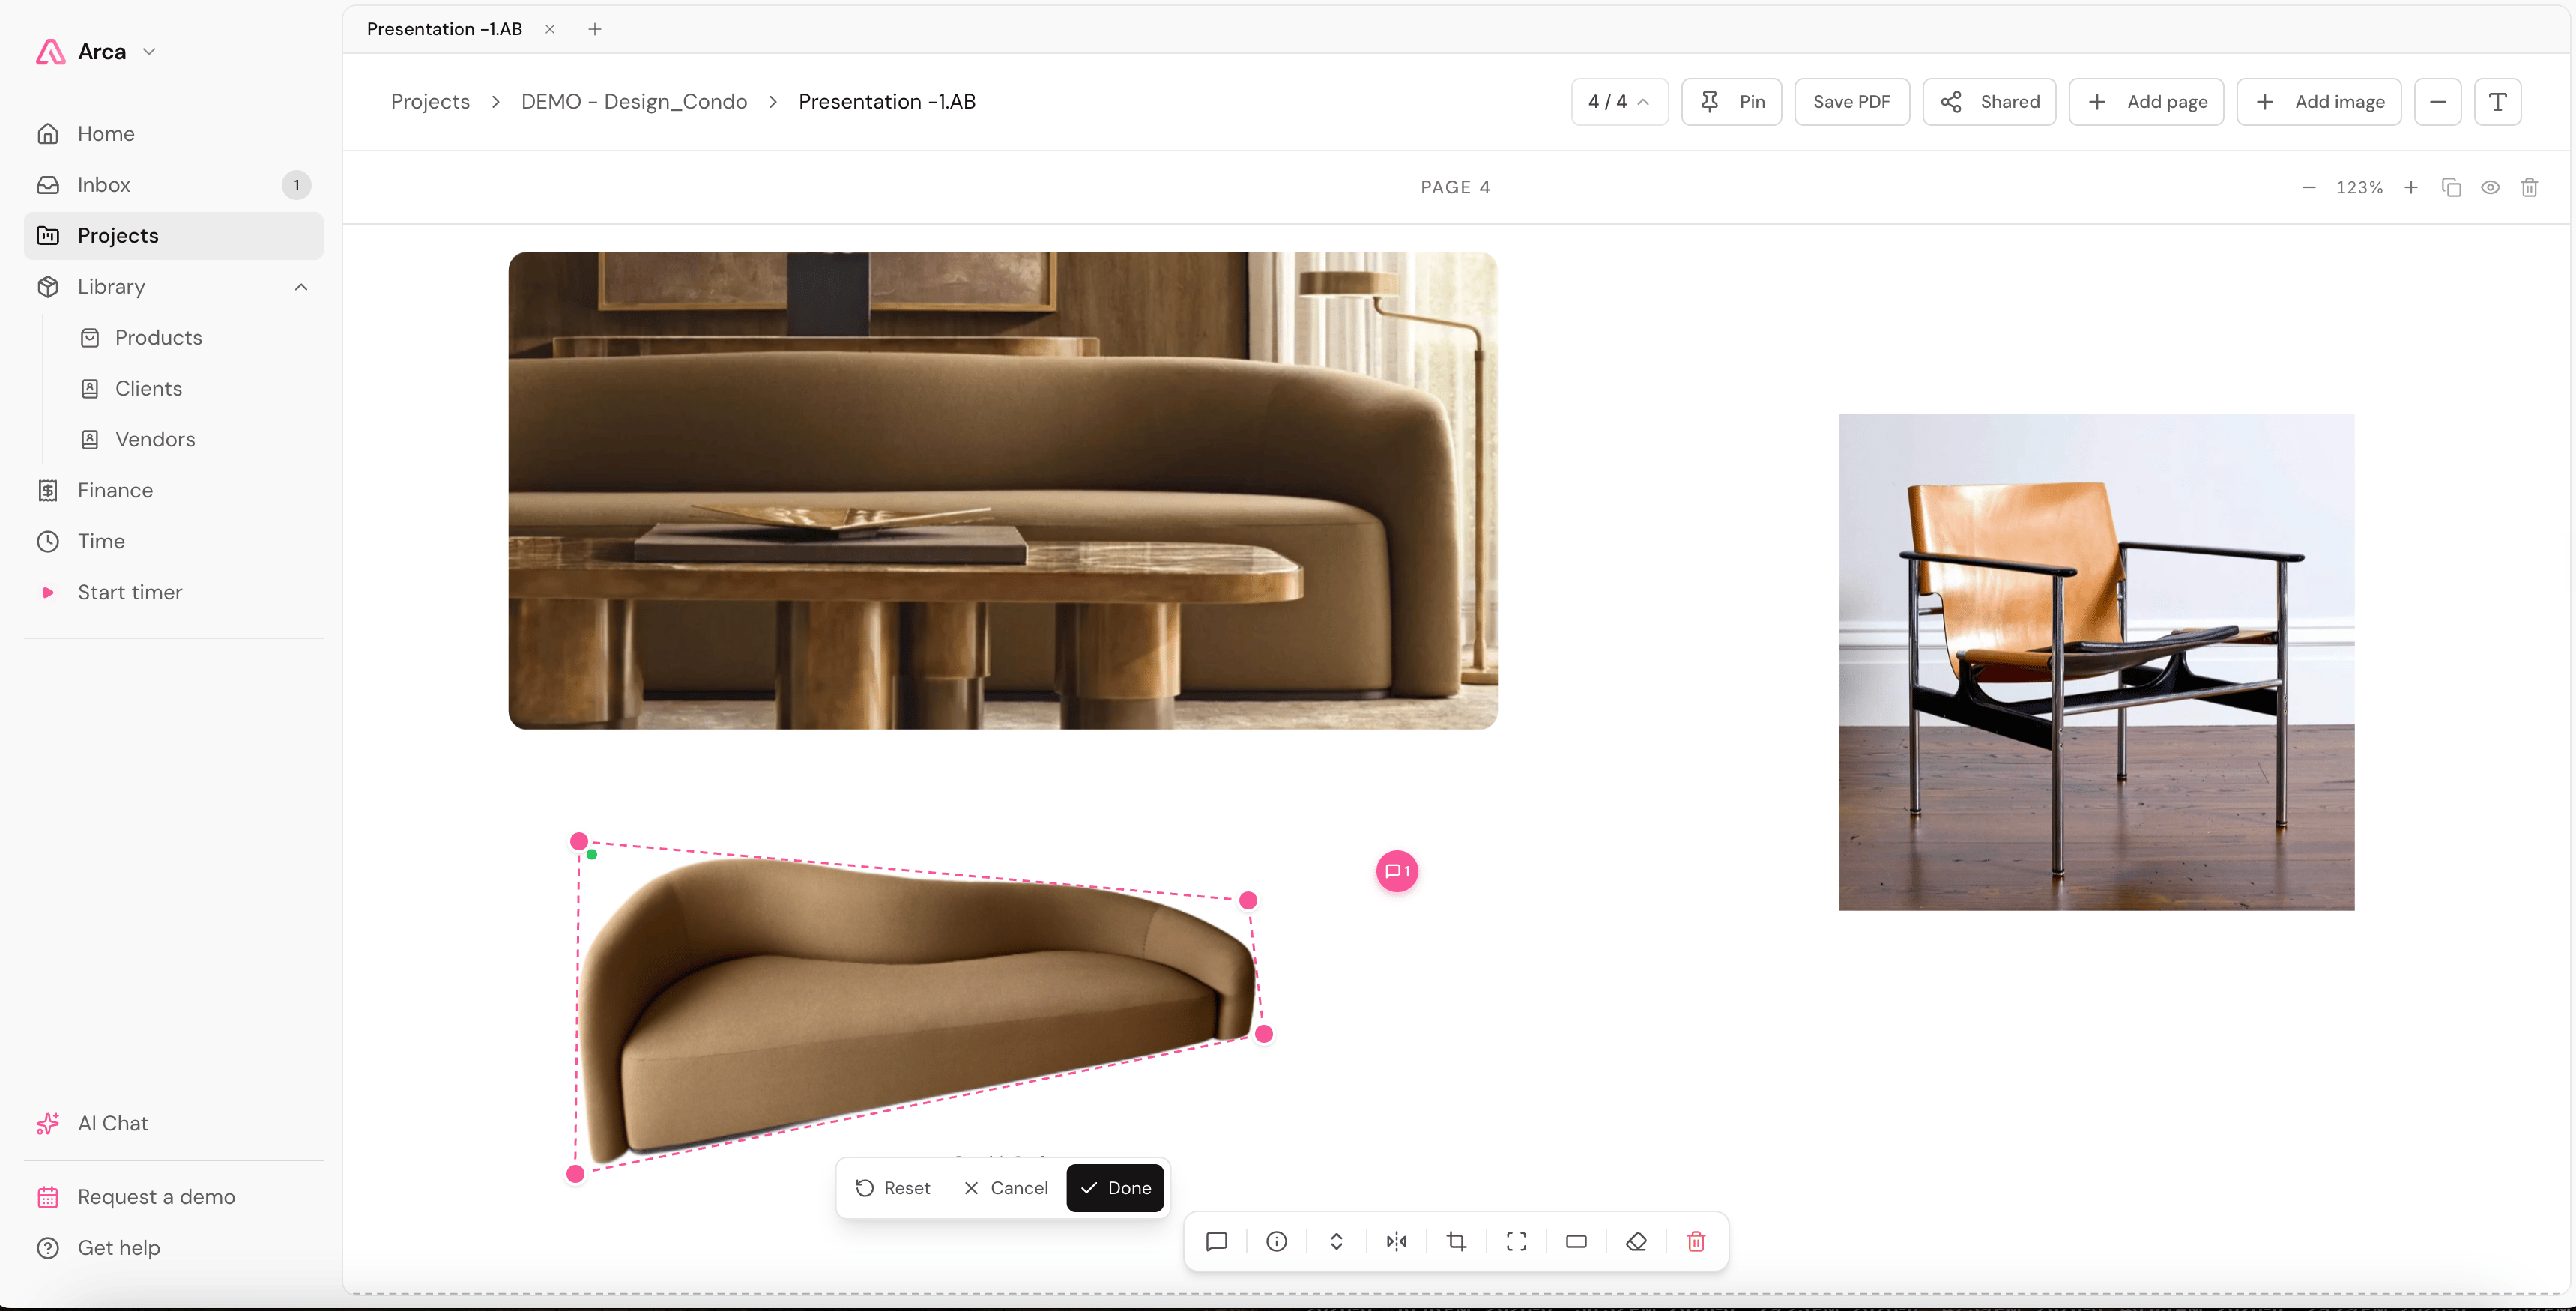
  3. Drag one of the four corner handles. The corner you drag moves independently; the other corners stay in place. The handles keep the shape from folding over itself.
  4. Adjust the remaining corners to match the scene. For a rug, move the two far corners inward and keep the near edge wider.
  5. Choose Done and wait for Perspective applied before continuing.
Use Order → Send to back, or Layer → Send to back in the right-click menu, to place the rug behind furniture. Move and resize the finished image to position it.

Reset, Cancel and Done

After Done, the transformed result becomes the image used for later edits. Opening Perspective again and choosing Reset does not recover the earlier original image. Use Undo while the edit is available in the current session, or keep a duplicate before experimenting.

Combine with other image tools

Remove the background if the photograph has unwanted surroundings. Crop changes the visible framing; Perspective changes the shape. Perspective works on an image, not a text label or line. Check the finished composition using Fit, then review the shared presentation or PDF. Avoid using a perspective image to communicate exact product dimensions: keep those in the product details.

Ask AI to help

With the board open, try: “Apply perspective to the rug so the top edge is narrower, as if it lies on the floor. Keep the chair unchanged.” Name the image and the intended result explicitly. Review the result and use Undo if needed.